How Do I Setup For Scan To Folder?
Open a web browser and enter the IP address of the Lexmark MFP into it. ( The IP will be shown on the display screen at the top ).
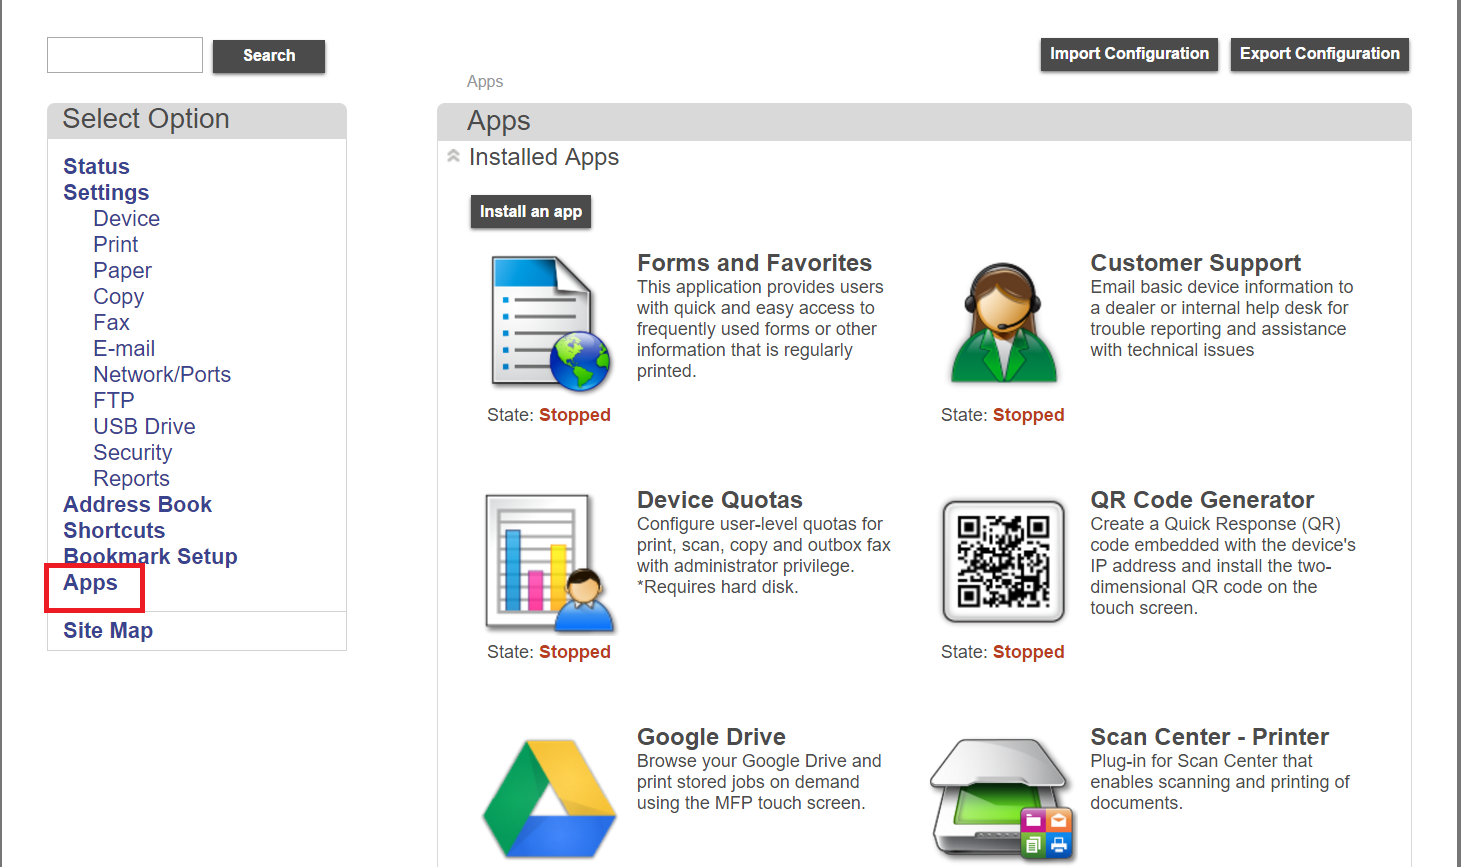
We have to enable the Scan App, go to Apps as per the below screen shot.
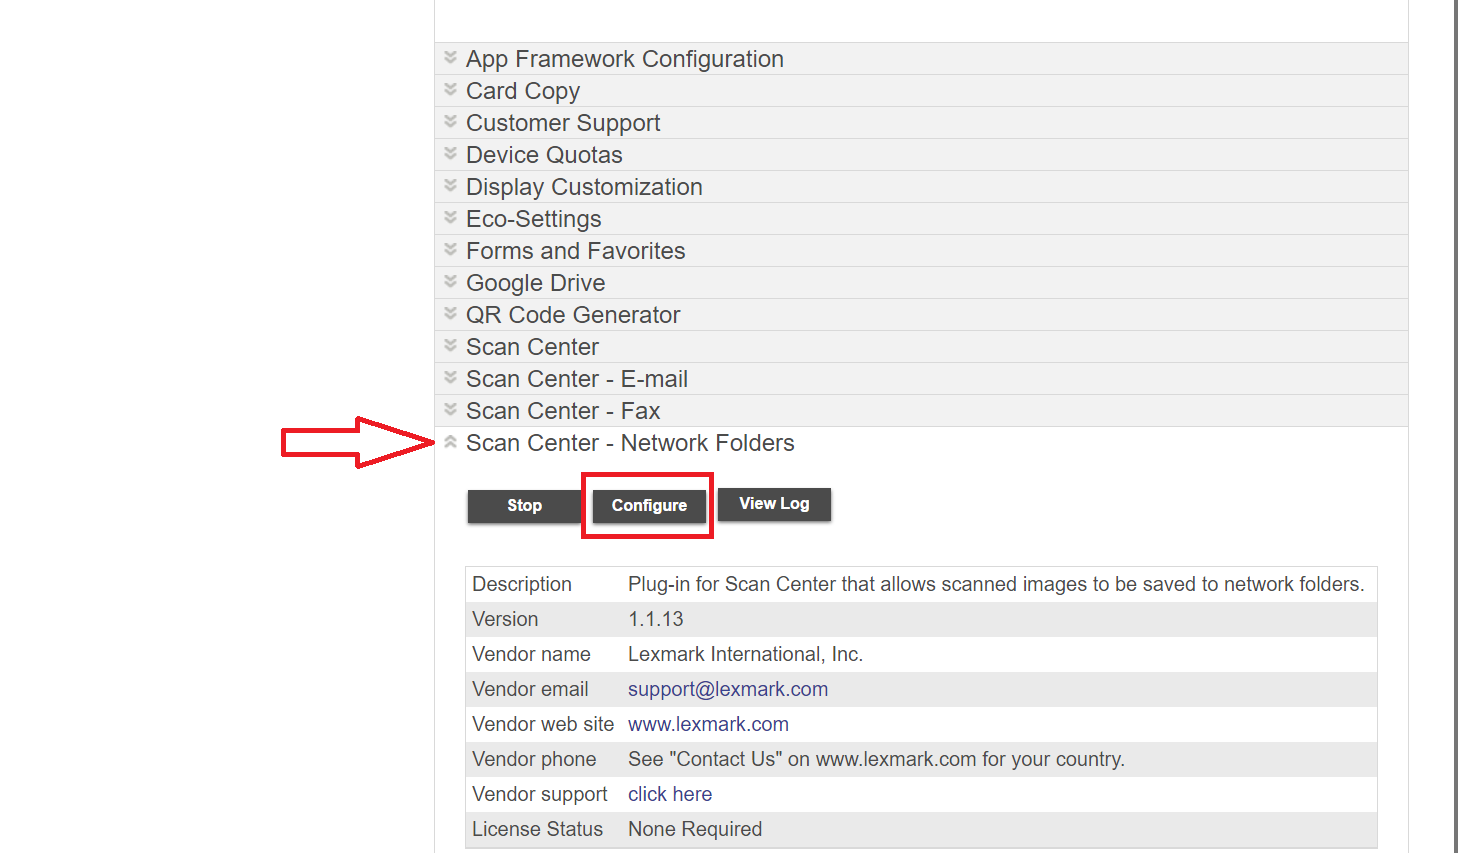
Scroll down the webpage and expand the Scan Centre - Network folders drop down menu. Click Configure.
Please click on the Create Network Folder button as per the below.

You will now need to complete the below fields as per the screenshot. There is a handy browse feature to the Lexmark models, this will allow choosing your desired scan folder even easier.
Please enter a static username and password, so the MFP can authenticate the scanned image into the folder and please complete the Test Connection function as per the below.

Once complete you should be able to scan from your Lexmark MFP into your chosen scan folder. If you are experiencing difficulties with the above, please do not hesitate to contact our support team on the below contact details.
Datasharp Support: 01256 811519
Related Articles
How Do I Setup For Scan To Folder?
Open a web browser and enter the IP address of the Lexmark MFP into it. ( The IP will be shown on the display screen at the top ). We have to enable the Scan App, go to Apps as per the below screen shot. Scroll down the webpage and expand the Scan ...Gmail - Scan to email no longer working
Datasharp supply managed print & IT Services through the UK to business small and large. Visit Datasharp for your Print and IT Service requirements. We have been hearing from confused clients that as of today 08/06/2022 they can't use Gmail for their ...Lexmark MFP Scan to Office365
Your Lexmark MFP is capable of scanning to email, if you have an Office 365 account setup then you can configure your device to scan using this method. The below will walk you through the process of setting this feature up. Firstly login to the ...How To Perform Scan To USB Stick
Please see our video on how to scan to a USB memory stick, we have attached the video below. VideoKonica scan to office 365
Konica Minolta Bizhub relay through Office 365 you need to complete the following. Log on to the Konica Minolta Bizhub device administration page. Log in as an administrator. Go to the Network tab. Go to the Email Settings tab. Go to the Email TX ...